This article will explain how to upload files through the cPanel. It will also give a basic explanation of where to upload your content. However, before we start this article we want to make it clear that Name.com is not able to assist with coding or content related issues. Your site configuration may require you to place your files in different directories than this guide describes. If you need further assistance with where or how to upload your content after viewing this article, you will want to consult a web developer for assistance.
Which directory should your domain's content be placed in:
1. First, login to your cPanel - How to login to the cPanel
2. Your primary domain's content should be placed in the public_html directory. To see this directory, open up your File Manager and click the public_html directory
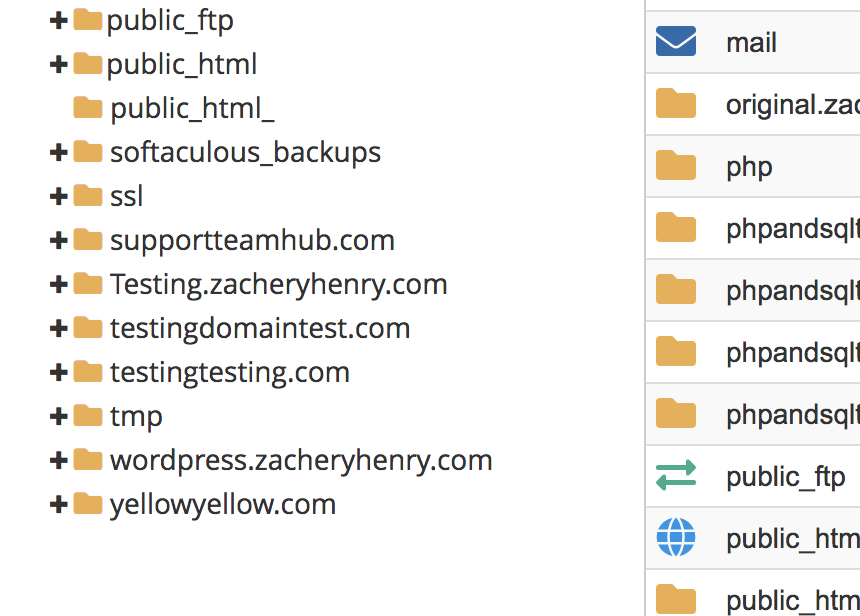
3. When you add an addon domain to your hosting plan, you will designate the directory for the content of that addon domain. If you cannot recall the directory that you set for the domain, choose the Addon Domains option in your cPanel. It will then show you the directory. In this example, the domain testingdomaintest.com's content should go in a folder called testingdomaintest.com, inside of the home directory

How to upload Files:
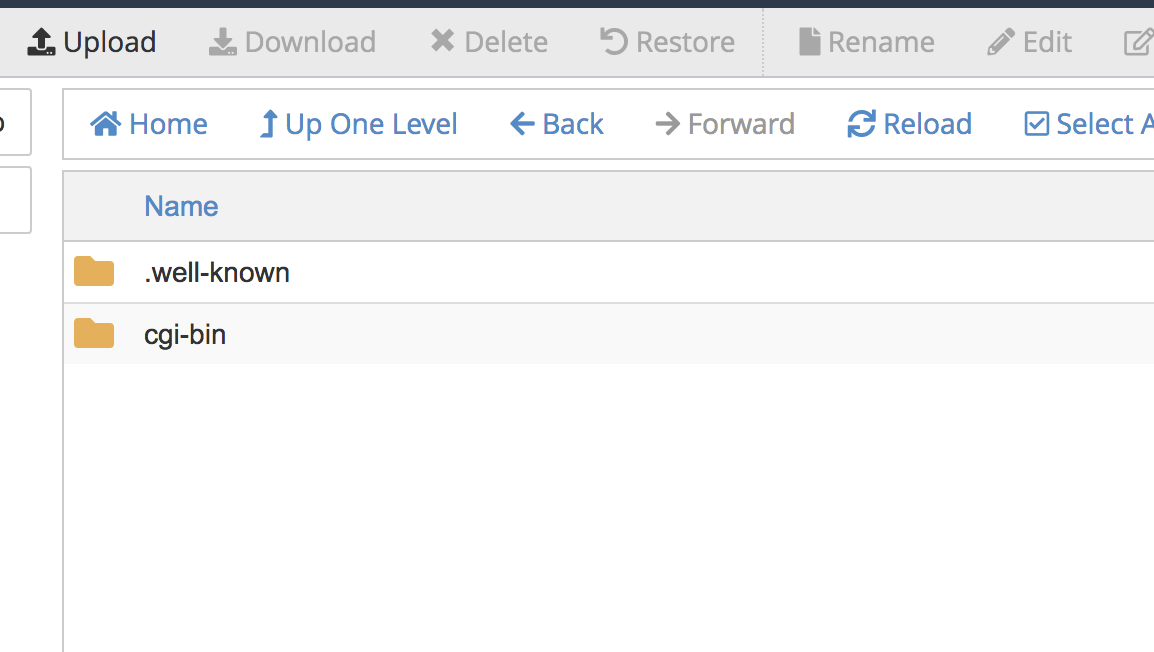
1. Now that you know the directory where your content should go, it's time to upload your files to it. You can use FTP to upload files to your hosting plan, or directly through the cPanel. This article will explain how to upload it through the File Manager in your cPanel. You will first want to navigate to the directory where you want to upload the domain, and then click Upload towards the top of the page
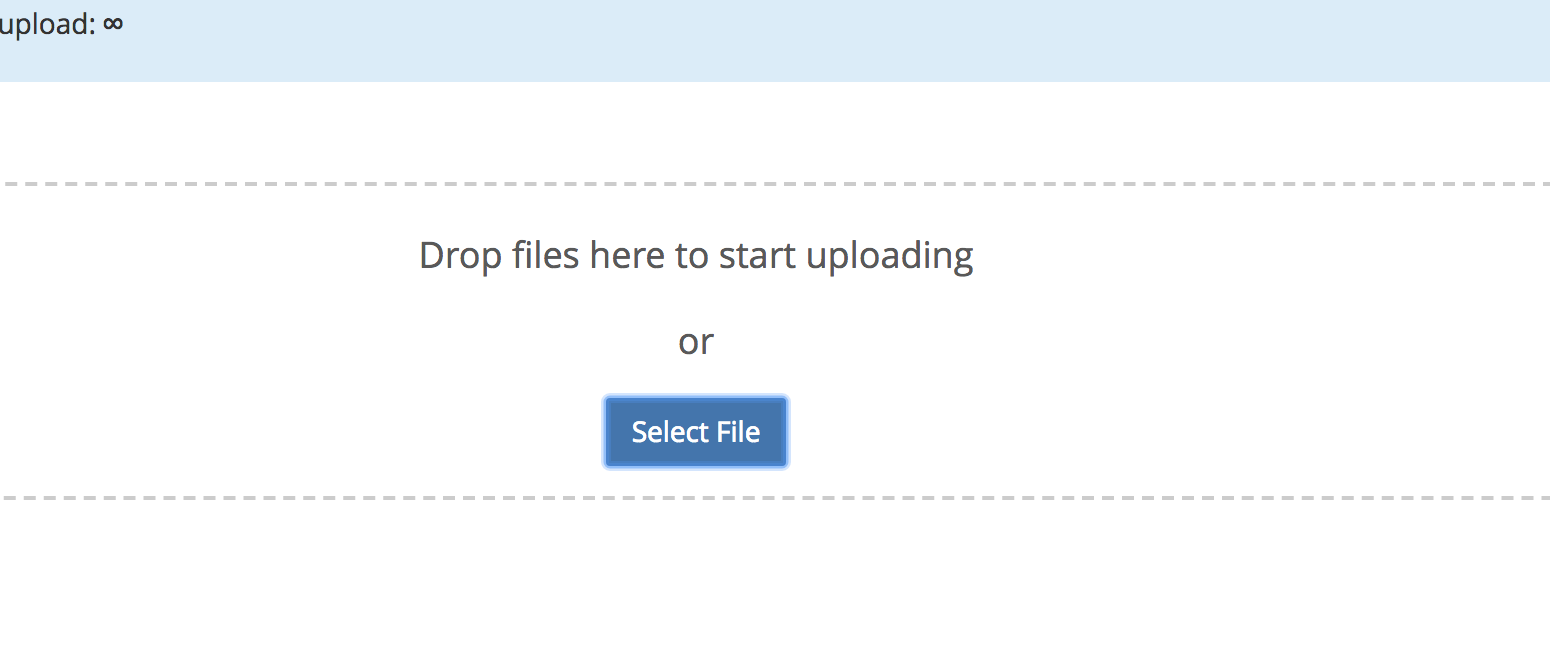
2. Once you click Upload, you will come to a screen that says Select File, click that button and then you will be able to select the file you want to upload from your computer
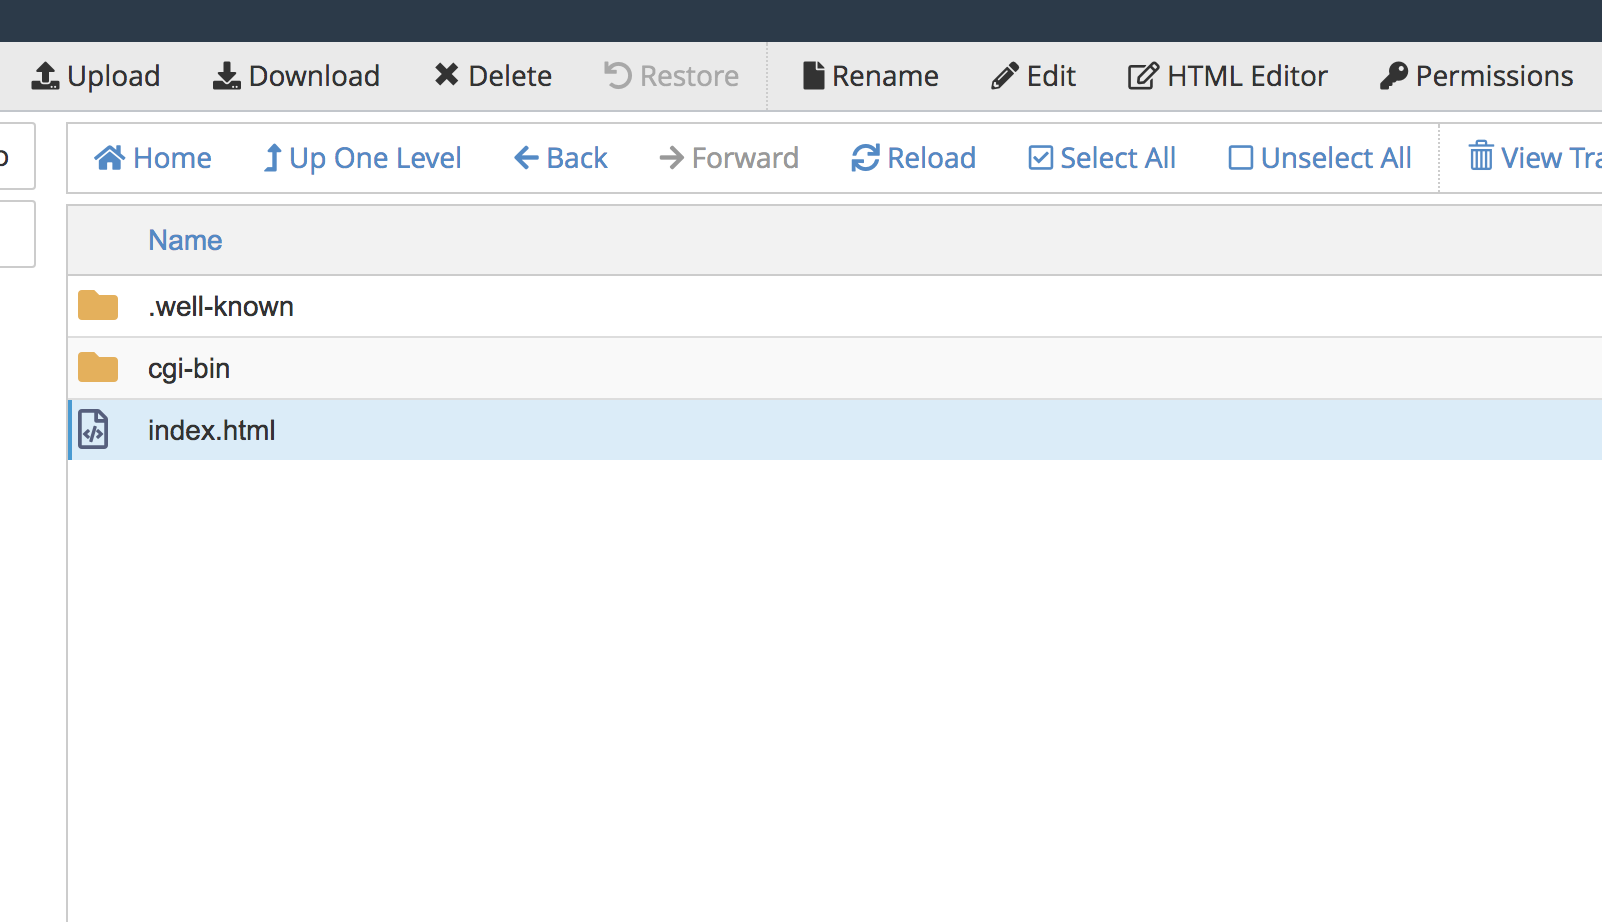
3. Once the file is uploaded, you can go back to your File Manager and see the file you uploaded. In this situation we uploaded an index.html file
Additional Notes on this:
1. If your content is missing, or not in the correct location, it will give a 400 error. You must have an index file for your site to function, if you don't have an index file in your domain's directory it will give a 400 error.
2. If you have a .ZIP file with all of your content, or some other compiled file, you must upload that file into it's correct directory and then choose the the Extract option on top of the File Manager option. This will extract all of the files into that location. However, you may need to still re-configure the directories of the content so that it's configured correctly. You would want to contact a web developer or the place you received the compiled file from for further clarification on if your content will need to be reconfigured once extracted.